To design and make clothing, you will evidently need to consider the appearance of each garment. When it comes to designing a collection or trying to establish a capsule wardrobe, every element will need to be carefully deliberated.
This includes the silhouette, shape, fabric, embellishments and design features such as pleats, gathers, pockets and collars. They all make an impact and can instantly change the overall look. In these blog posts we are going to review a variety of clothing elements to help you make informed decisions in your design process.
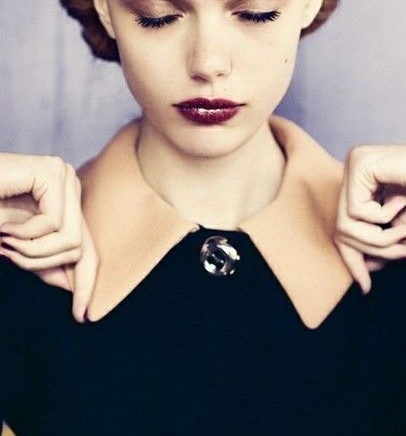
A collar can be defined as separate parts which are attached to the neckline of a garment. All collar types can be designed in various ways and shapes e.g. pointed or rounded. Collars can be made into different styles and deciding which one is often based on the garment type, e.g. a shirt, fashion top or a jacket. The shape of the neckline and the fabric will also make a difference. Collars are at the top part of a garment, making them very noticeable to the eye, especially as they can sit just below the face, therefore you need to consider whether you really want a collar. Take a look at some fashion clothing and see how many of them include a collar, you may be surprised how much of a difference it makes.
Top tips for collar construction
- When attaching a collar to the neckline, don’t forget to trim the seam allowance bulk so it lays smoother.
- Once attached, make a straight stitch all around the edge of the collar stand and/ or the outer edge of the collar. Keep the stitch close to the edge of the collar and this will give it a neat crisp finish.
- Collars are normally interfaced or faced. Interfacing is sewn on or ironed onto the inside side of one of the collar pieces. Interfacing is used for collars to give it more shape and stability, especially if it is going to be standing up or folding over in a certain way.
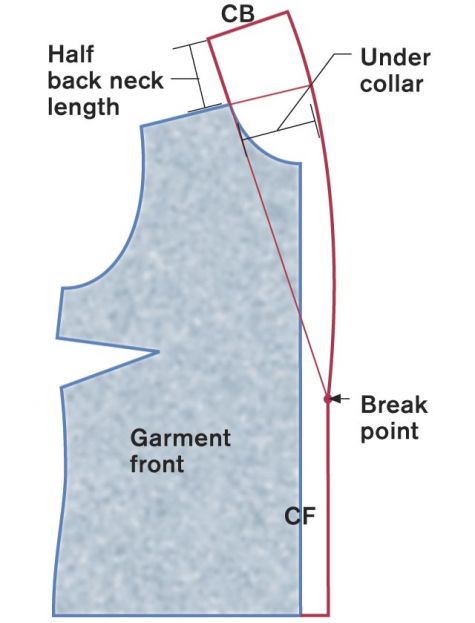
- Unless there is going to be a seam down the centre back, collars are drafted to half the bodice front and back neck and then cut on the fold of the fabric to get the full length.
- Most collar pieces will be two pieces of fabric sewn wrong sides together and turned through.
Types of collars
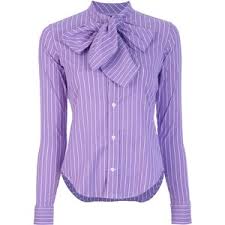
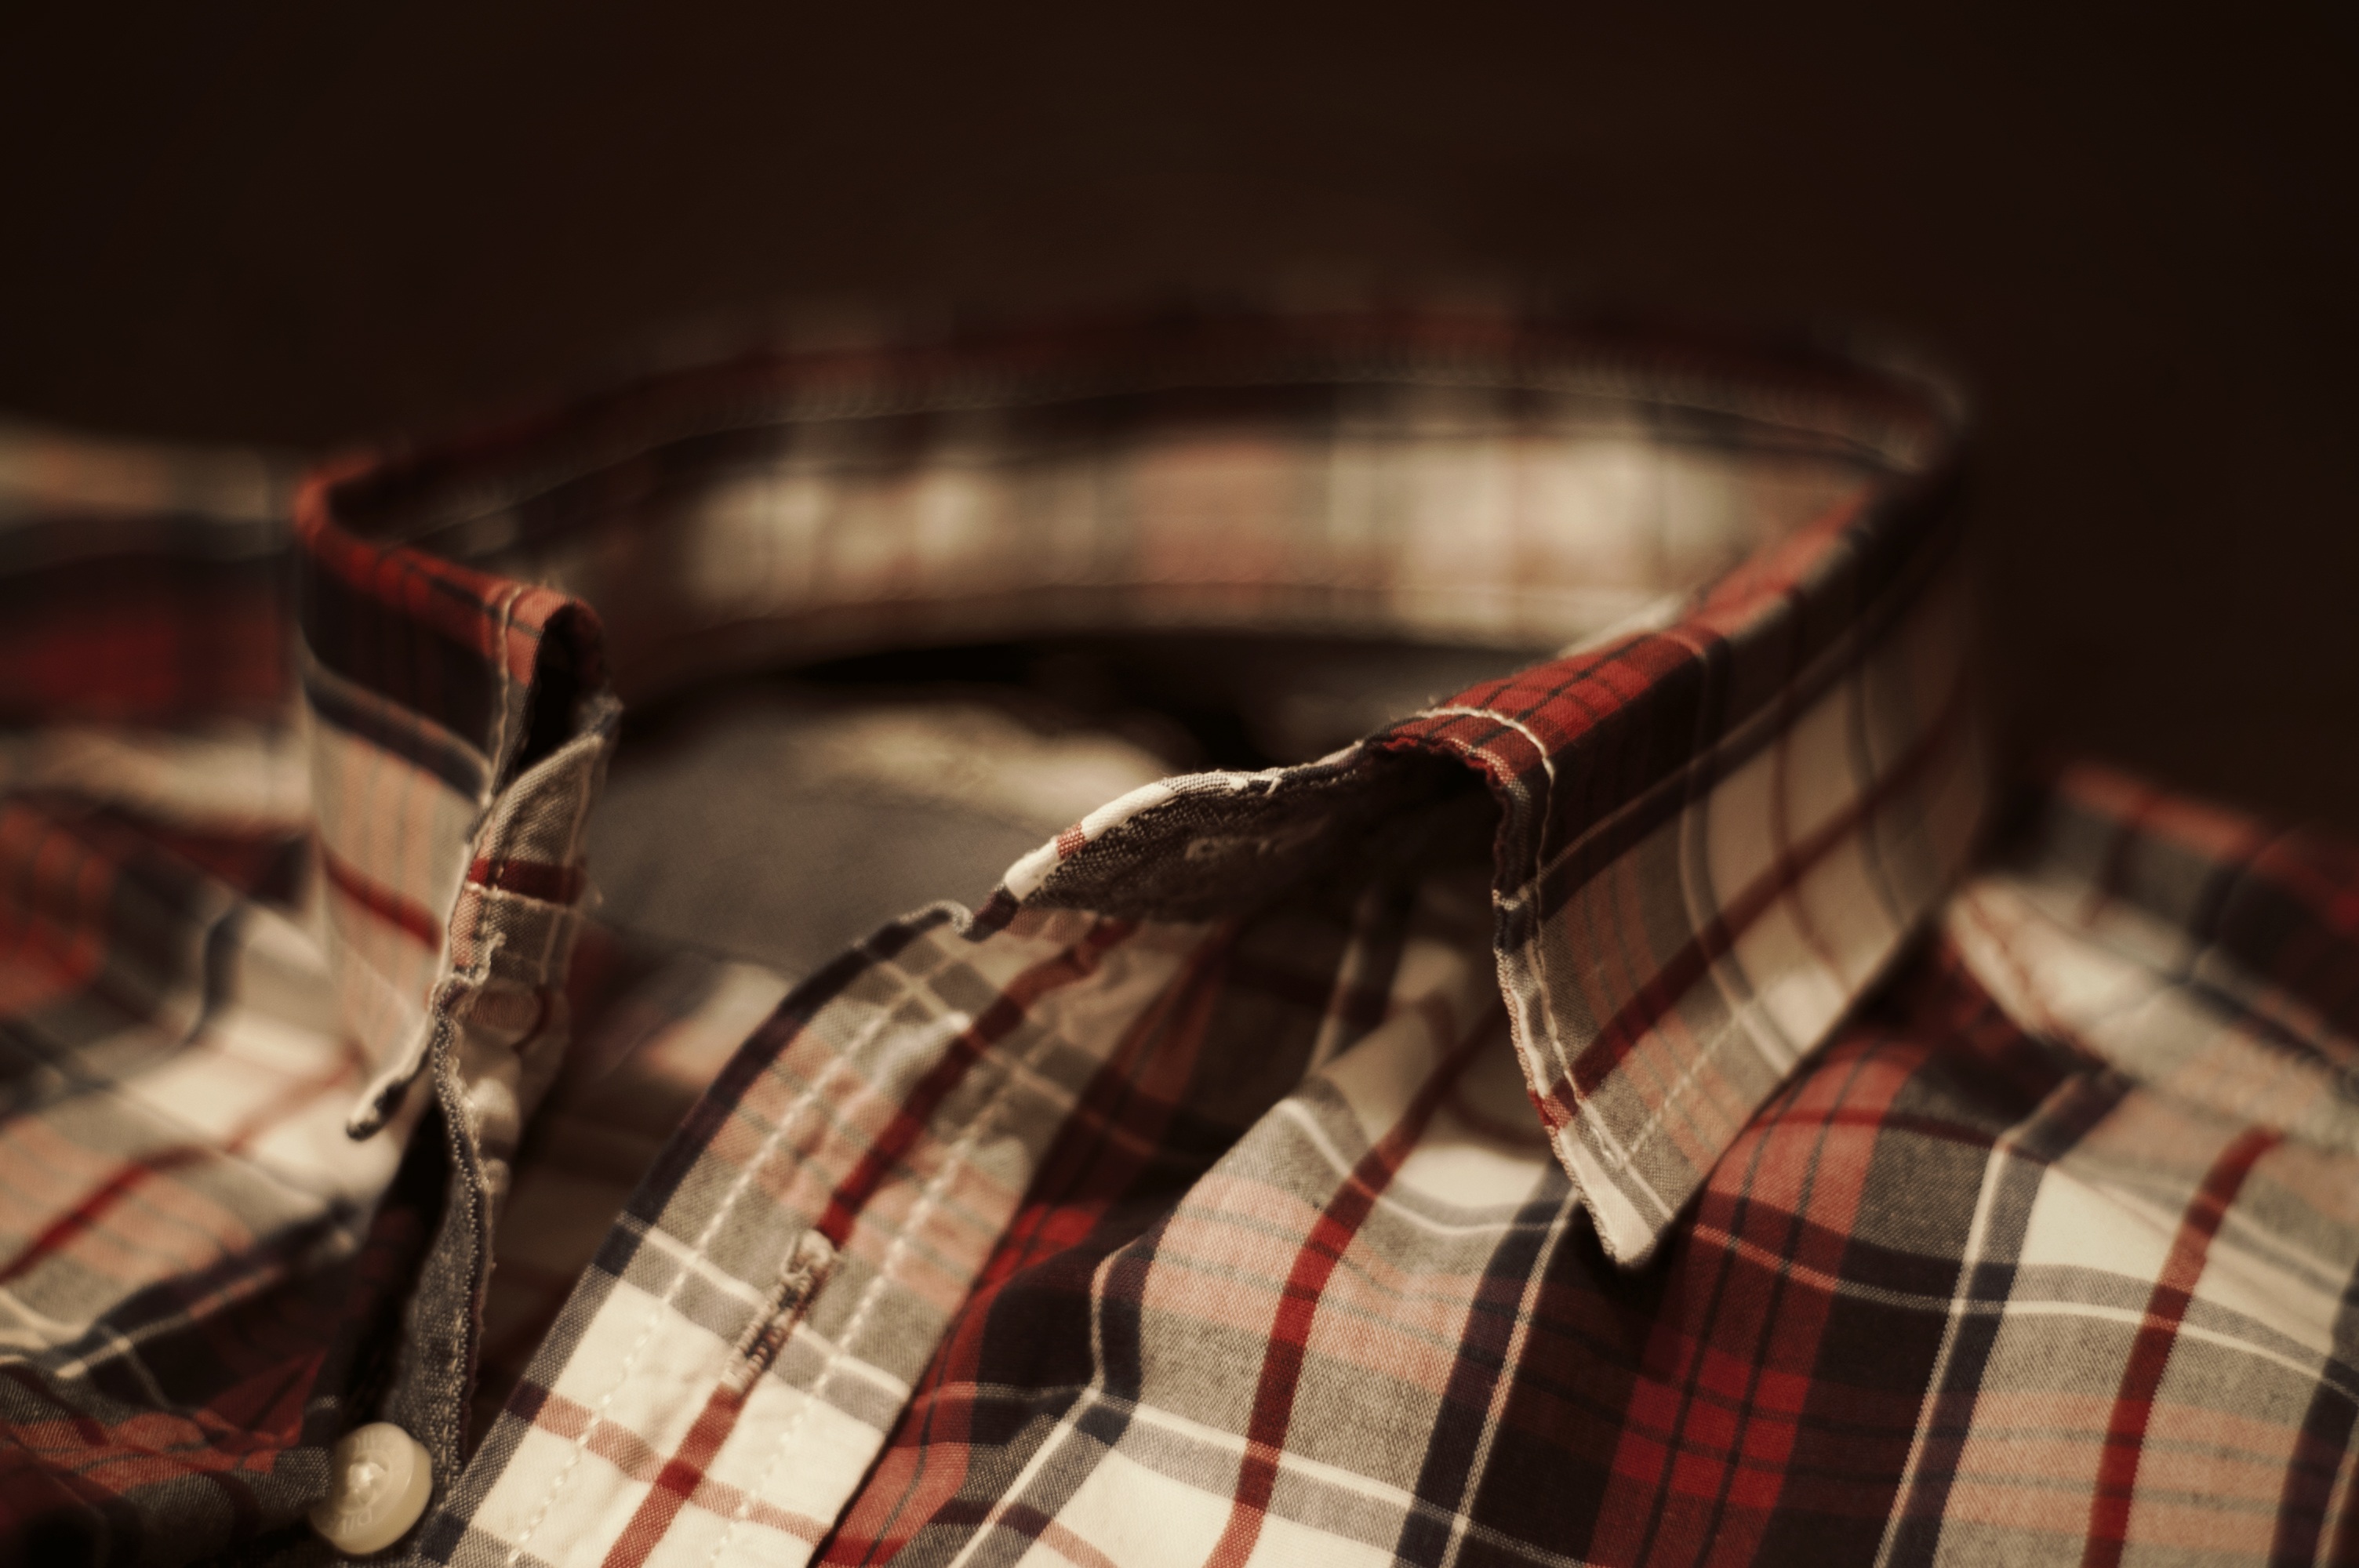
Shirt collars
Shirt collars include a stand, which is the part attached between the neckline and the collar. Some styles are more informal such as the button down shirt collar. The type of fabric can also determine its formality.
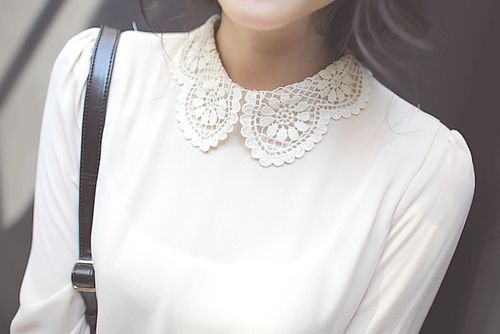
Flat collars
Flat collars are also known as Peter Pan collars when the edges are rounded. Used for aesthetic purposes, this type of collar is often seen on children’s clothing and fashion tops. The pattern piece is made by aligning the shoulders of the front and back bodice to draw the shape of the collar. Then trace over the shape and cut two pieces on the fold of the fabric to make the collar piece. Depending on your preference for the finish, the flat collar can be sewn flat against the garment neckline, however the neckline edge would have to be finished first. Another option is to have a bias binding cover the top edge or sew the collar just inside the neckline so that you can’t see any stitching.

Roll collar
The roll refers to the fold line of a collar. It is the place where it turns over the neckline.
Partial roll collar
The pattern for a partial roll collar is drafted similar to a flat collar but instead you overlap the shoulder seams from the armhole, but making sure you keep the neckline points at the shoulder seam together. The more you overlap the shoulders, the more roll there will be. You can overlap the shoulder seams as much as you like but eventually this will form a bump at the neckline join. So when you trace the collar piece for this, be sure to smooth out the bump in the neckline so that it becomes an even curve.
Full roll collar
This pattern gives you the biggest stand for a collar without actually making a separate stand piece. The full roll collar is made by drawing out a rectangular pattern piece, where the length of the rectangle is the same length as the neckline when the two shoulder seams are placed together.
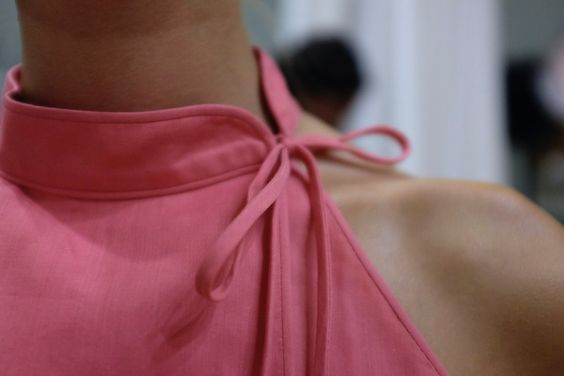
Mandarin collar- collar stand
This is essentially a collar stand by itself. The neck opening should be fairly tight fitting whereas with a flat collar the opening can be wider. This type of collar is familiar on Chinese style dresses and tops. To create a mandarin collar draw a straight horizontal line, the length of the back neckline. Mark the end point and then carry on the line for the length of the front neckline. Square up from the end of the line. On the vertical line mark up at about 1cm and connect it to roughly the middle mark on the horizontal line so that the straight line now curves slightly. Measure up from the 1cm mark on the vertical line how wide you want the collar to be such as 3cms. From this mark, continue the other side of the collar, parallel to the horizontal line curve. You can also curve the top right corner of the collar stand or keep it pointed depending on how you would like the ends of the collar to appear.
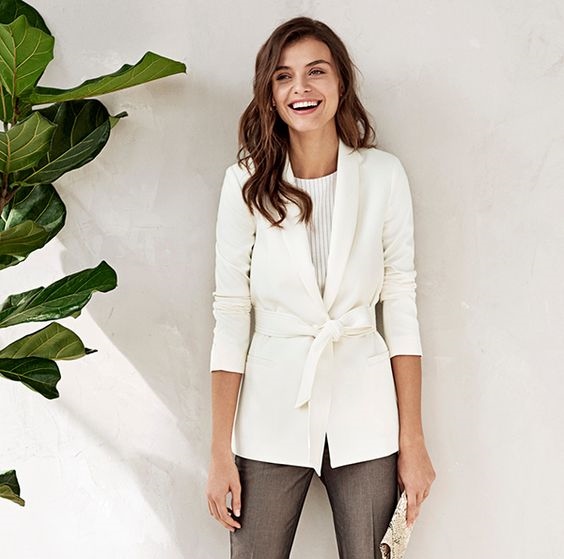
Shawl collar
The shawl collar is recognisably seen on cardians and the pattern can be altered to make a lapel for a blazer. To make the shawl collar pattern mark the point on the centre front of the jacket (which should already have the button stand drawn in) where you want the collar to finish. This could be low down the centre front or higher up, depending on how you would like the result. Draw a line up from this point to the top point of the shoulder line. Extend this line further by the length of the back neck. From here there are two methods:
1 From the top point of the line mark 1cm horizontally to the left. Join this mark to line to make it a slight smooth curve at the top. Determine the depth you want your collar to be at the back neck (normally between 5-15cms). From the new top point draw a line horizontally to the right, (towards the centre front) the distance of the depth of your collar. Join this back to the bottom point of the collar with the shape you would like the shawl collar to be.
2 With the diagonal line, draw the rest of the lapel shape as you would want to see it on a design or when it is finished. Trace this collar piece over and then keeping the centre front side aligned, flip the collar pattern over to the right so that it sticks out from the garment.The first traced out collar is not needed. Now on the back bodice neckline, draw the shape of the back neck collar piece with the depth that you would like. Trace this off and align with the shawl collar shape on the front so that they connect as one. You should then have the full shawl collar traced in. Smooth the curves with a curved ruler or patternmaster tool. Retrace the entire bodice or dress front with this new collar shape.
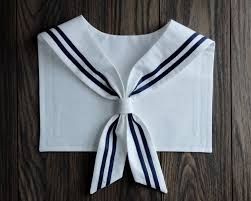
Cape/ sailor collars
A sailor collar is iconic to sailor shirts and vintage dresses. A cape and a sailor collar are similar, although a cape hangs down lower at the back. The sailor collar also hangs down at the back but is usually more of a squared shape. For these types of collars, bias ribbons, bows and other trims are often incorporated. They are pattern drafted in the same way as a flat collar, albeit they are a different shape with much more hang and drape. Be sure to place the pattern pieces or a tulle of the collar onto a mannequin to see how it will fall over the shoulders and down the back. These collars can be both attached to the garment or worn as a detachable piece.
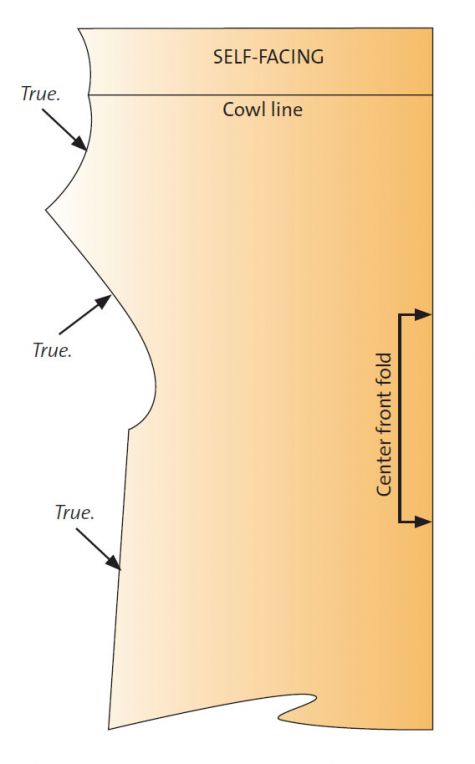
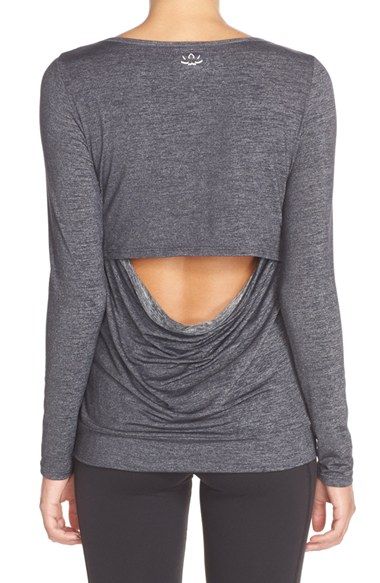
Cowl neck
A cowl neck produces a draping effect at the neckline.A cowl effect can be created on the back or front neckline of a garment. There are two ways of making this type of collar neckline.
One way to achieve this is by slashing the pattern once or numerous times from the armhole line to the centre front. The more you open out the slashes, the more of a draped effect this will create and the lower down the drapes will fall. By opening the slashes this will now change the position of the neckline and centre front. Where the pattern has not been altered, redraw the original centre front line up past the shoulder seam. Then square across horizontally from the top shoulder point to the centre front line so that the neckline is now straight. Ignore any slashed parts of the block which extend past these lines. A self facing piece should be added to the neckline, in construction this fabric will be folded over inwards. Retrace the new block.
The other method is by cutting out extra fabric and attaching it to the neckline after the front and back have been sewn together. For this, the cowl neck collar piece is made in a tubular form much like a turtle neck. The difference is that a cowl neck is much baggier and will not cling to the neck like a turtleneck.
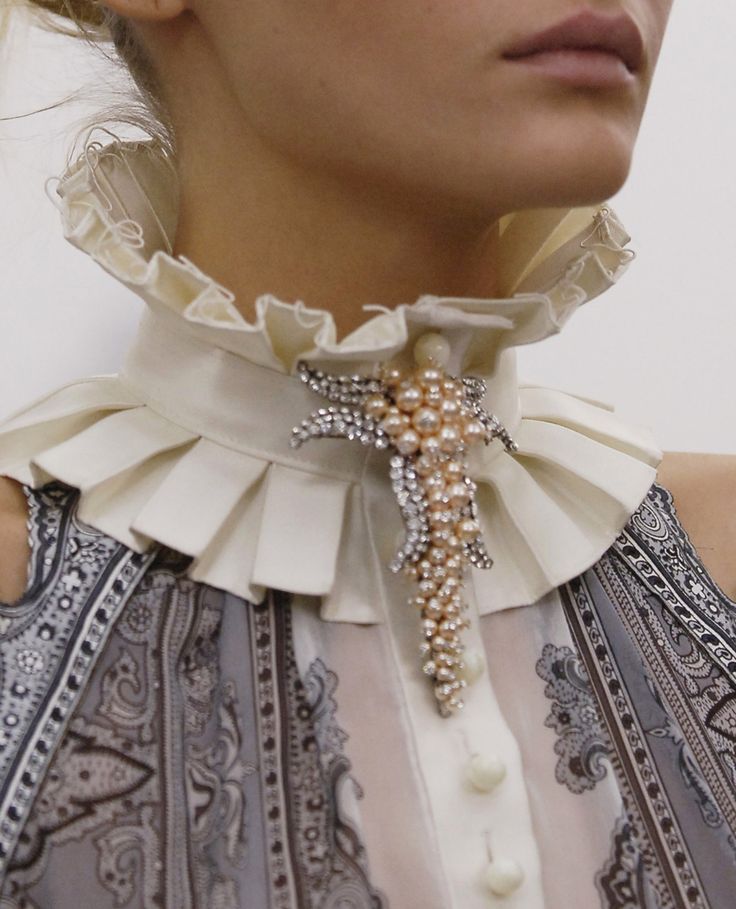
Listed above are the common types of collars. There are of course many more styles, some of which merge together such as the image below which could be classed as a shawl collar and also a cape collar. With advanced construction knowledge seen from high end designers, all sorts of fancy collars can be created.
